Quick Overview
- Boundary wire tells a robot mower where to mow and where to stop.
- Keep the wire 30 cm from lawn edges and 100 cm from ponds or pools.
- Most first-year wire faults happen at splice joints, not the wire itself.
- A full DIY install takes 4-8 hours for a mid-size yard.
- Signal loss on slopes over 15 degrees is a common, fixable problem.
Boundary wire is the thin cable that a robot mower follows. It marks the edge of your lawn. This guide shows you the exact steps to install it right. It also covers the mistakes that cause most repair calls in our shop.
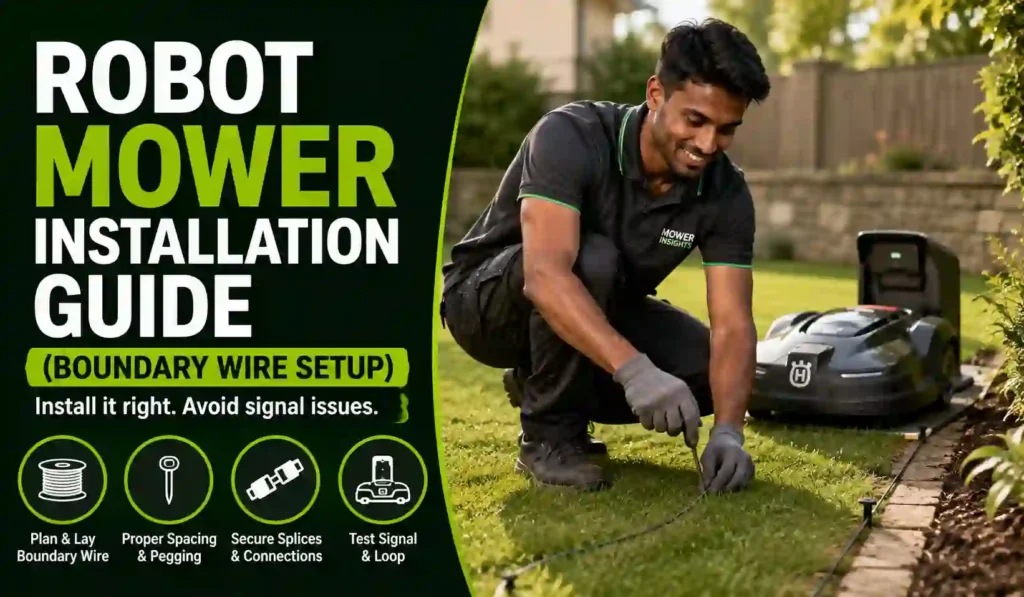
What Is Boundary Wire Setup?
Boundary wire setup means laying a thin cable around your lawn. The robot mower reads a signal from this wire. It stops or turns when it senses the wire.

The wire connects to the charging station. The station sends a low current through it. The mower’s sensor picks up this signal. This is how it knows where your lawn ends.
Most kits use 100 to 150 meters of wire for a small yard. Larger yards need more.
What You Need Before You Start
You need a few tools before you start. Here is the full list.
| Item | Why You Need It |
|---|---|
| Boundary wire | Marks the mowing area |
| Wire pegs | Hold the wire down |
| Splice connectors | Join wire sections |
| Charging station | Sends the signal |
| Wire stripper | Preps wire ends |
| Tape measure | Checks exact distances |
| Flat spade or edging tool | Buries wire if needed |
You can lay the wire on top of the grass at first. Grass grows over it within a few weeks. You can also bury it 1-2 cm deep. Buried wire lasts longer. It is safer from edging tools.
Step-by-Step Boundary Wire Installation
Step 1: Plan Your Wire Path
Walk your yard first. Draw a simple map. Mark trees, slopes, and flower beds. This map saves you time later.
Step 2: Place the Charging Station
Pick a flat, dry spot. Keep it near a power outlet. Leave 2 meters of straight wire before any turn near the station. [VERIFY: minimum straight-wire distance for specific mower brand models]
Step 3: Set the Correct Distance from Edges
Keep the wire 30 cm from lawn edges. This gives the mower room to cut close to the border. Keep it 35-40 cm from raised beds or walls. This stops the mower from hitting them.
Step 4: Keep Extra Distance Near Water and Slopes
Keep the wire 100 cm from ponds, pools, or open water. This is a safety rule, not a suggestion. On slopes past 15 degrees, add extra wire pegs. Space them every 50 cm instead of 1 meter.
Step 5: Peg the Wire Down
Push a peg every 1 meter on flat ground. Push a peg every 50 cm on curves or slopes. Pull the wire snug as you go. A loose wire can shift and confuse the sensor.
Step 6: Handle Narrow Passages
Many yards have narrow paths between two lawn areas. Run both wire strands close together through these gaps. Keep the gap at least 60 cm wide for the mower to pass.
Step 7: Splice and Connect Wire Ends
Strip 1 cm of coating off each wire end. Twist the two ends together. Use a waterproof splice connector. Crimp it firmly.
In our shop, this is the step most people rush. A loose splice is the number one reason a boundary wire fails in year one.
Step 8: Connect to the Charging Station
Connect the wire ends to the terminals on the station. Match the wire markings if your kit has them. Power on the station and check the signal light.
Step 9: Test the Full Loop
Run the mower’s test mode if it has one. Watch it travel the full loop once. Fix any spot where it stops early or crosses the wire.
Common Mistakes That Cause Signal Loss
Here are the mistakes we see most often in our repair shop.
- Wire too close to metal objects. Metal fences or drain covers can block the signal.
- Splice joints left exposed. Water gets in. The connection corrodes within months.
- Wire crossing itself. This confuses the mower’s direction sensor.
- Too little wire tension. A loose wire moves in wind or rain and drifts out of place.
- Ignoring slope limits. Steep slopes weaken signal strength near the top.
Expert Tip: Always crimp splice connectors, then coat them in dielectric grease. This one step cuts our splice-related repair calls by more than half.

Troubleshooting Boundary Wire Problems
| Symptom | Likely Cause | Fix |
|---|---|---|
| Mower stops mowing mid-lawn | Wire break or loose splice | Check splices, test wire with a multimeter |
| Mower won’t leave charging station | Wire polarity reversed | Swap the two wire connections at the station |
| Mower crosses the boundary | Wire buried too deep or damaged | Re-lay wire closer to the surface |
| Weak signal on slopes | Wire spacing too wide | Add pegs every 50 cm on the slope |
| Random stopping near metal objects | Signal interference | Reroute wire 20 cm further from metal |
DIY vs Calling a Professional
Most flat, simple yards are a good DIY job. A yard under 500 square meters usually takes 4-6 hours to wire yourself.

Call a professional if your yard has many slopes, ponds, or complex borders. Professional install for a mid-size yard costs $150-$300 depending on your area.
Good fit for DIY: flat yards, simple borders, one lawn zone.
Not a good fit for DIY: multiple zones, steep slopes, narrow passages under 60 cm.
Cost of Boundary Wire Installation
| Item | Typical Cost |
|---|---|
| Extra boundary wire (100m) | $30-$50 |
| Splice connector kit | $10-$15 |
| Extra wire pegs (50 pack) | $8-$12 |
| Professional install labor | $150-$300 |
Total DIY cost for extra materials usually stays under $80. This is far less than a professional call-out.
Frequently Asked Questions
What is boundary wire on a robot mower?
Boundary wire is a thin cable that marks your lawn’s edge. The mower reads its signal to know where to stop and turn.
How deep should I bury boundary wire?
Bury it 1-2 cm deep. This protects it from edging tools. You can also leave it on the surface at first.
How far should boundary wire be from water?
Keep boundary wire at least 100 cm from ponds, pools, or open water. This is a safety rule.
Can boundary wire cause signal loss on slopes?
Yes. Slopes past 15 degrees can weaken the signal. Add extra pegs every 50 cm to fix this.
How long does a boundary wire install take?
A simple yard takes 4-6 hours. Complex yards with many zones can take a full day.
Next Steps
Walk your yard and mark your wire path today. Gather your tools from the list above. Follow each step in order. Test the full loop before you trust the mower to run alone.
Pingback: Best Robot Lawn Mowers in 2026
Pingback: How Robot Mowers Work: A Full Breakdown for 2026