Quick Overview
- A lawn mower battery that won’t charge is almost always one of four things: a dead or sulfated battery, a bad charger, corroded terminals, or – on cordless models – a battery management system (BMS) lockout.
- Test the battery with a multimeter before replacing anything. A healthy 12V lead-acid battery should read 12.4V or higher at rest; a healthy lithium pack should read close to its rated nominal voltage.
- Corroded or loose terminal connections cause a large share of “no charge” complaints on riding mowers and are a five-minute fix with a wire brush and baking soda solution.
- Cordless mower batteries that show a solid red or flashing light and never turn green usually need either a BMS reset or full replacement – runtime past 2-3 years is the norm before this becomes likely.
- If the charger’s output tests at 0V with a multimeter, replace the charger first. Chargers fail more often than most owners assume, and it’s the cheapest part to rule out.
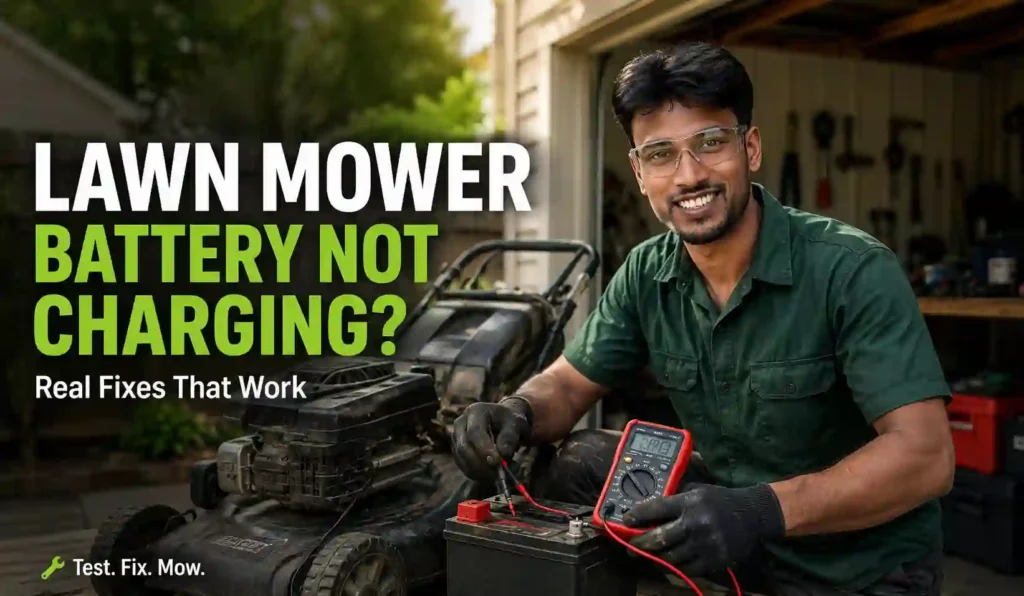
What You Need Before You Start
- A digital multimeter (any $15-25 model with DC voltage settings works fine)
- A wire brush or old toothbrush, plus baking soda and water for terminal cleaning
- Work gloves and safety glasses, especially for lead-acid batteries
- Your mower’s owner’s manual, to confirm battery voltage and charger specs
- 20-30 minutes for a full diagnostic pass
Step 1: Confirm What Kind of Battery You Have
Start by identifying whether you’re dealing with a lead-acid starter battery (common on riding mowers and some gas push mowers with electric start) or a lithium-ion battery pack (common on cordless mowers from Ryobi, EGO, Greenworks, Milwaukee, and Toro).
The diagnostic path is different for each. Lead-acid batteries fail through sulfation and low electrolyte; lithium packs fail through cell imbalance and BMS faults. Check the label on the battery itself – it lists chemistry, voltage, and amp-hour rating.
Time estimate: 2 minutes.
Step 2: Rule Out the Charger First
A charger that outputs no voltage is the single easiest thing to test, and in our shop it accounts for roughly one in five “battery won’t charge” complaints – more than owners expect.
Plug the charger into a wall outlet, then set your multimeter to DC voltage and touch the probes to the charger’s output pins (positive to positive, negative to negative). A working charger for a 12V system should read somewhere between 13V and 14.5V unloaded. Cordless mower chargers typically read a few volts above the pack’s rated voltage – a 40V charger, for example, often reads 42-44V.
If the reading is 0V or wildly unstable, the charger is bad. Replace it before doing anything else – a new charger costs $20-45 for lead-acid and $30-70 for most cordless brands, and it’s a wasted afternoon if you skip this step and troubleshoot the battery instead.
Time estimate: 5 minutes.
Step 3: Inspect and Clean the Terminals and Connections
Corrosion at the battery terminals blocks current flow even when the battery and charger are both fine. Look for a white, blue, or greenish crusty buildup on the terminals or cable ends – this is the most common physical cause of a “no charge” complaint on riding mowers that sit outdoors or in an unheated shed.
Disconnect the battery (negative cable first, always), then scrub the terminals and cable clamps with a wire brush dipped in a baking soda and water paste. Rinse with a small amount of clean water and dry thoroughly before reconnecting (positive cable first this time).
While you’re in there, check that both cable clamps are actually tight. A loose clamp can look connected but still prevent a full charge, especially under vibration from mowing.
Time estimate: 10 minutes.
Step 4: Test the Battery Itself
With the terminals clean and the charger confirmed working, test the battery directly.
For lead-acid (12V) batteries: Set the multimeter to DC voltage and touch the probes to the terminals with the mower off and the battery disconnected from the charger. A fully charged battery reads 12.6-12.8V. A reading of 12.4V or above is acceptable. Below 12.2V, the battery is significantly discharged; below 10.5V, it’s likely sulfated beyond recovery and needs replacement.
For lithium-ion cordless packs: Voltage alone is less reliable because the BMS can mask a bad cell. Check the pack’s built-in charge indicator lights first – most brands use a light sequence to show charge level or fault codes. A pack that immediately shows a full charge indicator but dies within a minute of mowing usually has a failing cell rather than a charging problem.
If the battery holds a charge for a few minutes and then drops fast, that’s a capacity fault, not a charging fault – replacement is the only real fix.
Time estimate: 10 minutes.
Step 5: Check for a BMS Lockout on Cordless Batteries
Lithium battery packs have a built-in battery management system that shuts the pack down completely if it’s deep-discharged below a safety threshold – this is common when a mower sits unused over winter with a partially charged battery.
A locked-out pack usually shows no lights at all when placed on the charger, even though the charger itself is working. Some brands recover from this with an extended “trickle” charge of several hours; others require the pack to be plugged in and unplugged a few times to reset the BMS, and some packs that have been deep-discharged for months simply won’t recover.
Try leaving the pack on the charger for 4-6 hours with the charger untouched, even if no light appears in the first hour. If there’s still no response after that, the BMS lockout is likely permanent.
Time estimate: Passive – check after several hours.
Expert Tip: In the shop, we see the most BMS lockouts in packs that were stored at low charge going into winter. Storing a lithium mower battery at roughly 40-60% charge, rather than fully drained or fully charged, cuts this failure mode significantly.
Step 6: Check the Charging Circuit on Riding Mowers
If you’ve confirmed the battery is good but it still won’t hold a charge while the engine runs, the problem may be upstream of the battery itself – the alternator, voltage regulator, or a blown fuse in the charging circuit.
With the engine running, test voltage at the battery terminals again. A working charging system should show 13.5-14.5V while the engine is running, higher than the resting voltage from Step 4. If the reading stays at or below resting voltage with the engine on, the charging system – not the battery – is the actual fault, and that’s a job most owners hand off to a small-engine shop rather than DIY.
Time estimate: 10 minutes.
Common Mistakes That Cause This to Go Wrong
- Testing voltage with the charger still connected. This gives a false high reading. Always disconnect the charger before testing battery voltage at rest.
- Assuming a new battery fixes a charger problem. If the charger was never tested, a fresh battery can drain right back down and look like it “won’t charge” again within days.
- Storing lead-acid batteries fully discharged over winter. This is the single most common cause of sulfation we see walk through the shop door every spring.
- Ignoring a slow-blow fuse in the charging harness. On riding mowers, a blown inline fuse can look exactly like a dead charging system and gets overlooked because it’s small and easy to miss.
- Mixing charger types. Using a charger from a different brand or voltage than what the mower specifies can damage the battery’s BMS on cordless models – always match the charger to the battery’s rated voltage.
Safety Notes
Lead-acid batteries can vent hydrogen gas while charging, especially older or overcharged units. Charge them in a ventilated area away from open flame or sparks, and never charge a battery that’s visibly swollen, leaking, or cracked – dispose of it at a battery recycling center instead.
Lithium-ion packs that are physically damaged, swollen, or extremely hot to the touch should not be charged. Set the pack outside on a non-flammable surface, away from the house, and contact the manufacturer about safe disposal.
Always wear safety glasses when working around lead-acid batteries, and remove jewelry before testing to avoid accidental shorts across the terminals.
When to DIY vs. When to Call a Professional
Testing voltage, cleaning terminals, and swapping a charger are all safe, straightforward DIY jobs that take under 30 minutes total. Most “won’t charge” complaints resolve at this level.
Call a professional if the charging system on a riding mower tests bad (Step 6), if you’re not comfortable working around a lead-acid battery that shows swelling or damage, or if a cordless pack shows physical damage like a cracked case or burn smell – these situations carry real electrical or fire risk and aren’t worth troubleshooting solo.
Troubleshooting Table
| Symptom | Likely Cause | Fix |
|---|---|---|
| No lights at all when battery is on charger | Charger is dead, or battery is BMS-locked | Test charger output with a multimeter; if good, try extended trickle charge on battery |
| Battery charges but dies within minutes of use | Failing cell / lost capacity | Replace the battery – this isn’t a charging fault |
| Terminals show white or blue crust | Corrosion blocking current | Disconnect, clean with baking soda paste, reconnect |
| Voltage under 10.5V at rest (lead-acid) | Sulfation, likely unrecoverable | Replace the battery |
| Charging light stays red/flashing indefinitely | Charger fault or fault-code from BMS | Check owner’s manual fault code chart; test charger separately |
| Riding mower battery dies again within days of replacement | Charging system (alternator/regulator) not charging while running | Test voltage with engine running; take to a small-engine shop if low |
Total Cost of Ownership: Repair vs. Replace
A replacement lead-acid mower battery typically runs $45-90 depending on size and brand. A replacement charger for the same system runs $20-45. Cordless mower battery packs cost considerably more – a Ryobi 40V 6.0Ah pack runs around $149 at Ryobi’s own site, an EGO 56V 7.5Ah pack runs around $299 at EGO’s site, and a Milwaukee M18 12.0Ah pack runs around $279 at Milwaukee’s site (prices as of publish date – reconfirm close to publish since these shift with sales).
Given that math, a $25 multimeter and 20 minutes of testing before buying anything is almost always worth it – especially on cordless mowers where a wrong guess means spending $150-300 on a battery that wasn’t actually the problem.
Frequently Asked Questions
Why is my lawn mower battery not charging at all?
The most common causes are a dead charger, corroded battery terminals, a fully sulfated lead-acid battery, or a BMS lockout on cordless lithium packs. Test the charger’s output voltage first since it’s the fastest thing to rule out.
How do I know if my mower battery or charger is bad?
Test the charger’s output with a multimeter while it’s plugged in but not connected to the battery. If it reads 0V or an unstable voltage, the charger is bad. If the charger tests fine but the battery still won’t hold voltage after a full charge cycle, the battery itself has failed.
Can a lawn mower battery be recharged after it dies completely?
A lead-acid battery below 10.5V is usually beyond recovery, though an extended slow charge occasionally revives one that hasn’t sulfated too far. A lithium pack in full BMS lockout sometimes recovers with several hours on the charger, but a pack that’s been deep-discharged for months typically won’t come back.
How long should a mower battery take to fully charge?
A lead-acid riding mower battery typically takes 4-8 hours on a standard trickle charger. Cordless mower batteries vary widely by brand and charger type, generally ranging from 30 minutes for a fast charger on a small pack to several hours for a larger pack on a standard charger.
Why does my cordless mower battery show green but the mower won’t run?
This usually points to a BMS fault that shows a passing charge indicator while still blocking discharge under load, or to a bad connection between the battery and the mower’s contact points rather than the battery itself. Clean the contact points on both the pack and the mower deck, then retest.
How often should I replace my lawn mower battery?
Lead-acid mower batteries typically last 3-4 years with proper off-season storage. Lithium-ion cordless packs typically last 3-5 years or 300-500 charge cycles, whichever comes first, and capacity loss is gradual rather than sudden.
Summary
- Rule out the charger first with a multimeter – it’s the fastest and cheapest thing to test.
- Clean corroded terminals before assuming the battery itself has failed.
- Test resting voltage on lead-acid batteries and check charge-indicator behavior on lithium packs.
- A pack or battery that charges but dies fast under load has a capacity fault, not a charging fault, and needs replacement.
- On riding mowers, test voltage with the engine running to rule out a bad alternator or regulator before replacing the battery again.
Pingback: Best Lawn Mowers with USB Charging Ports