Quick Answer
A riding mower that won’t start is most often caused by a dead or weak battery, a tripped safety switch, or bad fuel. Sit on the seat, put the mower in neutral, set the parking brake, and turn the key. If you hear one fast click, the battery is weak. If you hear nothing, check the safety switches first. If the engine cranks but won’t fire, check fuel and spark. Work through the checks below in order. Most no-start problems take under 20 minutes to find.
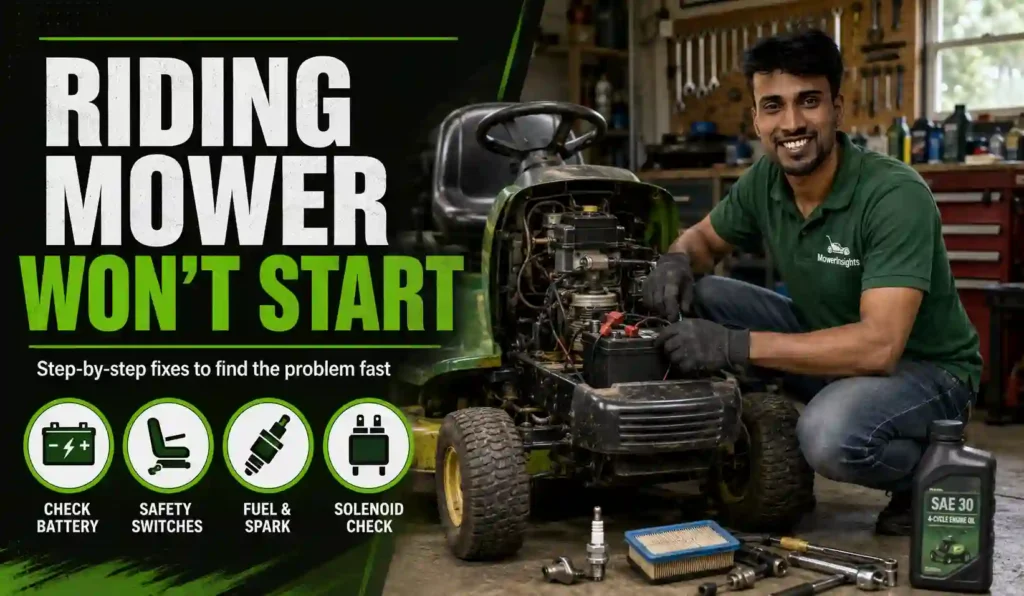
What You Need Before You Start
- A multimeter (a basic one costs about $15 to $25)
- Work gloves and safety glasses
- A wire brush or fine sandpaper
- A spare spark plug of the correct type, if you have one
- Your owner’s manual, if you can find it (the model number is often on a sticker under the seat or on the frame near the engine)
You do not need every tool on this list to start. Most people only need the multimeter and a flashlight.
Step 1: Listen to What Happens When You Turn the Key
This one step tells you where to look next. Sit on the seat. Set the parking brake. Put the mower in neutral. Make sure the mower deck is not engaged. Turn the key and listen closely.
One fast click, then nothing. This points to a weak battery or a bad connection at the battery terminals. Go to Step 2.
No sound at all, not even a click. This points to a safety switch, a blown fuse, or a dead battery. Go to Step 3.
A steady clicking or buzzing sound. This points to a bad solenoid or a battery too weak to turn the starter. Go to Step 4.
The engine cranks (it turns over) but does not start. The electrical side works. The problem is fuel, spark, or air. Go to Step 5.
The engine starts, then dies right away. This often means bad fuel, a clogged fuel filter, or a carburetor problem. Go to Step 5.
In our shop, roughly four out of ten riding mowers that come in for “won’t start” have a battery or connection issue. Roughly three out of ten have a tripped safety switch. The rest split between fuel, spark, and solenoid problems.
Step 2: Check the Battery
A weak or dead battery is the single most common reason a riding mower will not start, especially after winter storage.
Do this:
- Open the seat or hood to find the battery.
- Look at both terminals. White or green crust means corrosion. Clean it off with a wire brush.
- Make sure both cables are tight. A loose cable acts just like a dead battery.
- Set your multimeter to DC volts and touch the red probe to the positive terminal and the black probe to the negative terminal.
- Read the number.
A healthy 12-volt riding mower battery should read close to 12.6 volts when the engine is off. Anything under 12.2 volts means the battery is low and may not have enough power to turn the starter. Anything under 11.5 volts usually means the battery cannot start the engine at all.
If the voltage is low, charge the battery with a standard trickle charger for a few hours and test again. If the battery will not hold a charge, or it is more than three years old, replace it.
Expert Tip: A battery can read close to 12.6 volts and still fail to turn the starter. That’s a sign of low cold-cranking amps, not low voltage. If the battery is old and the mower cranks slow even after a full charge, replace it rather than keep testing it. This is one of the most missed calls we see from owners who only check voltage and stop there.
Step 3: Check the Safety Switches
Riding mowers have safety switches built in so the engine cannot start under unsafe conditions. If even one of these switches is faulty or not triggered correctly, the mower will not start at all, even with a fully charged battery.
Most riding mowers check for all of the following before they allow the engine to start:
- The seat switch (a switch under the seat that senses your weight)
- The parking brake switch
- The mower deck (blade) engagement switch, which must be disengaged
- On some models, a reverse safety switch that blocks starting while in reverse
Do this:
- Confirm you are fully seated, all the way back, not perched on the edge.
- Confirm the parking brake is fully set, not halfway.
- Confirm the deck (blade) lever is fully off.
- Try starting again.
If it still won’t start, the seat switch itself may be faulty. A common shop test: with the key on and the seat empty, gently press down on the seat switch by hand (many are located under the seat hinge) and see if the dash lights or starter respond differently.
In our shop, seat switch failure is one of the most common “no click, no sound” complaints we see, especially on mowers over five years old that sit outside. Moisture gets into the switch housing and it stops making contact.
Step 4: Check the Solenoid
The solenoid is a small electrical switch that sends battery power to the starter motor. If you hear a single click, or a repeated clicking or buzzing sound, the solenoid is a likely cause.
Do this:
- Find the solenoid. It’s usually a small black cylinder near the battery, with two large cables and one or two thin wires attached.
- With the battery connected and the key off, use a screwdriver to briefly touch (bridge) the two large battery terminals on the solenoid at the same time. Wear gloves and stand clear of the mower deck.
- If the starter spins when you do this, the solenoid itself is likely bad, or the wire from the key switch to the solenoid has a fault.
- If nothing happens, the problem is more likely the battery, a bad ground wire, or the starter motor itself.
A replacement solenoid typically costs $15 to $40 for the part.
Only try the bridge test if you’re comfortable working near a battery and starter. If you’re not sure, skip this step and go to a shop instead. This test involves a live circuit near a spinning blade coupler.
Step 5: Check the Fuel System
If the engine cranks normally but won’t fire, or fires and dies right away, look at fuel next. This is especially common after the mower sat unused for a season with fuel still in the tank.
Do this:
- Check the fuel gauge or look in the tank. Low or empty fuel is an easy miss.
- Check the fuel itself. Old gas turns darker and starts to smell sour or like varnish after about 30 days. Old fuel does not burn well and can gum up the carburetor.
- Check the fuel shutoff valve, if your mower has one, and make sure it’s open.
- Check the fuel line for cracks, and check that the line isn’t pinched or blocked.
- Check the fuel filter, if visible, for dark buildup.
If the fuel is more than one season old, drain it and refill with fresh gas. Fuel with ethanol breaks down faster, so many shops recommend using fuel with no more than 10% ethanol and treating it with a fuel stabilizer if it will sit for more than a month.
Expert Tip: If the mower starts, runs for a few seconds, then dies, that’s a strong sign of a clogged carburetor jet, not a dead engine. Old fuel leaves a sticky varnish residue inside the tiny carburetor passages. In our shop, this is the top reason riding mowers come in every spring after winter storage.
Step 6: Check the Spark Plug
No spark means no start, even with fresh fuel and a full battery.
Do this:
- Remove the spark plug wire, then remove the spark plug with a spark plug socket.
- Look at the tip. It should be light tan or gray. Black, wet, or oily means a problem (often too much fuel, or an oil issue).
- Check the gap between the electrode tip and the side wire. Most small engines want a gap around 0.030 inches. [VERIFY: exact gap spec for the specific engine model]
- Reconnect the plug to its wire, touch the plug’s metal base to a bare metal part of the engine, and have someone turn the key while you watch for a blue spark. Keep your hands clear of the spark plug tip itself.
- If there’s no spark, the plug, the ignition coil, or the wire itself may be at fault.
A basic spark plug costs $4 to $10 and is one of the cheapest, most overlooked fixes for a no-start riding mower.
Step 7: Check the Air Filter and Choke
A blocked air filter or a stuck choke can prevent the engine from getting the air-fuel mix it needs to start, especially in cold weather.
Do this:
- Remove the air filter cover and pull out the filter.
- Hold it up to a light. If you can’t see light through it, it’s too clogged and needs cleaning or replacing.
- Check that the choke lever moves freely and closes fully when set to “choke” or “cold start.”
- If the engine is cold, make sure you’re using the choke or primer bulb the way your manual describes.
Foam filters can usually be washed with soap and water, dried fully, then lightly re-oiled. Paper filters should be replaced, not washed.
What It Costs to Fix, By Cause
| Cause | Typical DIY Part Cost | Typical Shop Labor Cost | Total Range |
|---|---|---|---|
| Dead or weak battery | $60 – $130 | $0 – $20 (self-install) | $60 – $150 |
| Corroded terminals | $0 – $10 (cleaner/brush) | $0 – $30 | $0 – $40 |
| Faulty seat or safety switch | $15 – $45 | $40 – $80 | $55 – $125 |
| Bad solenoid | $15 – $40 | $40 – $70 | $55 – $110 |
| Bad fuel / clogged carburetor | $10 – $20 (fuel/filter) | $80 – $180 (carb clean) | $10 – $200 |
| Bad spark plug | $4 – $10 | $0 – $25 | $4 – $35 |
| Failed starter motor | $60 – $150 | $60 – $120 | $120 – $270 |
Common Mistakes That Cause This Problem
- Storing the mower with fuel still in the tank over winter. Old fuel is the top cause of spring no-starts we see in the shop.
- Leaving the mower deck engaged and trying to start it. Most mowers block starting on purpose when the blades are engaged.
- Not sitting fully on the seat. A light touch is often not enough to trip the seat switch.
- Jump-starting with the wrong polarity. This can damage the solenoid or the mower’s electrical system. Always match red to positive and black to negative.
- Ignoring a slow crank. A slow, weak crank almost always means the battery, not the starter. Replacing the starter first is a common and costly wrong guess.
- Skipping the fuel stabilizer. If you store your mower for more than a month, add stabilizer or drain the tank. This one habit prevents a large share of spring repair visits.
Safety Notes
- Always disconnect the spark plug wire before working near the blades or deck.
- Never bridge the solenoid terminals with the mower in gear or with anyone near the deck.
- Set the parking brake and block the wheels before doing any work under the mower.
- Old fuel is flammable. Drain it into an approved container, away from any spark or flame source, and dispose of it at a local hazardous waste site, not down a drain.
- If you smell gas strongly near the engine, stop and check for a fuel leak before attempting to start the mower again.
When to DIY vs. When to Call a Professional
Safe to try yourself: checking and cleaning battery terminals, checking fuel level and age, checking and replacing the air filter, checking and replacing a spark plug, and testing battery voltage with a multimeter.
Better left to a shop: solenoid bridge testing if you’re not confident around live electrical connections, carburetor disassembly and cleaning, starter motor replacement, and any wiring diagnosis that involves tracing multiple circuits.
In our shop, we tell owners that if a fix needs more than a screwdriver and a multimeter, it’s worth at least a phone call to a technician first. A wrong guess on a starter or carburetor repair can cost more in wasted parts than the original visit would have.
Troubleshooting Table
| Symptom | Likely Cause | What to Check First |
|---|---|---|
| One fast click, nothing else | Weak battery or loose terminal | Battery voltage and cable tightness |
| No sound at all | Tripped safety switch, blown fuse, or dead battery | Seat, brake, and deck switches |
| Repeated clicking or buzzing | Bad solenoid or very weak battery | Solenoid bridge test |
| Cranks but won’t fire | Fuel or spark issue | Fuel age, spark plug condition |
| Starts then dies quickly | Old fuel or clogged carburetor | Fuel tank and filter |
| Slow, weak crank | Low battery or bad connection | Battery voltage under load |
| Engine floods (smells strongly of gas) | Too much choke or a stuck choke plate | Choke lever position |
Frequently Asked Questions
Why does my riding mower click but not start?
A single click usually means the battery is too weak to turn the starter, even though it has enough power to trigger the solenoid. Charge or test the battery first. A repeated clicking sound points more toward the solenoid itself.
Why does my riding mower turn over but not start?
If the engine cranks but doesn’t fire, the electrical system is working and the issue is fuel, spark, or air. Check fuel age first, since old fuel is the most common cause after winter storage, then check the spark plug.
Can a bad safety switch stop a riding mower from starting?
Yes. Riding mowers use seat, brake, and deck switches to block starting under unsafe conditions. A faulty or unset switch can produce total silence when you turn the key, with no click at all.
How do I know if it’s the battery or the starter?
A weak battery usually causes a slow, labored crank or a single click. A bad starter usually causes silence or a clicking solenoid even with a battery that tests at full voltage under load. Testing the battery first rules out the more common and cheaper cause.
Why does my mower start then die right away?
This points to a fuel delivery problem, most often old fuel or a clogged carburetor jet. The engine has enough fuel in the bowl to start briefly, then stalls once that small amount is used up.
How often should I replace my riding mower battery?
Most riding mower batteries last three to five years with normal seasonal use. Cold winters and long storage periods without a charger shorten that lifespan. If a battery is over three years old and reads low even after a full charge, replacement is usually the better call.
Is it safe to jump-start a riding mower?
Yes, if done correctly. Match positive to positive and negative to negative, and connect the negative cable to a bare metal part of the mower frame rather than the battery itself, to reduce spark risk near the battery.
Conclusion
Most riding mower no-start problems come down to one of five things: a weak battery, a tripped safety switch, old fuel, a bad spark plug, or a failing solenoid. Working through the checks in order, starting with what you hear when you turn the key, gets you to the cause fast without guessing. If you get through the checks above and still can’t find the cause, or the fix involves the starter or carburetor, a shop visit is the safer next step. MowerInsights offers mower repair and maintenance service out of our Milan shop for anyone in the area who wants a second set of hands on this.