Quick Answer
A lawn mower storage shed needs three things: a dry, level base, walls tall enough to clear the mower handle, and airflow so gas fumes and moisture don’t build up. For one push mower, build a 4×6 ft (1.2 x 1.8 m) shed. For a riding mower, go 8×10 ft (2.4 x 3 m) or larger. Set the shed on a gravel or paver base, frame the walls, add a sloped roof, and finish with two vents for airflow. Most DIY builds take one weekend and cost between $400 and $1,200 in materials depending on size.
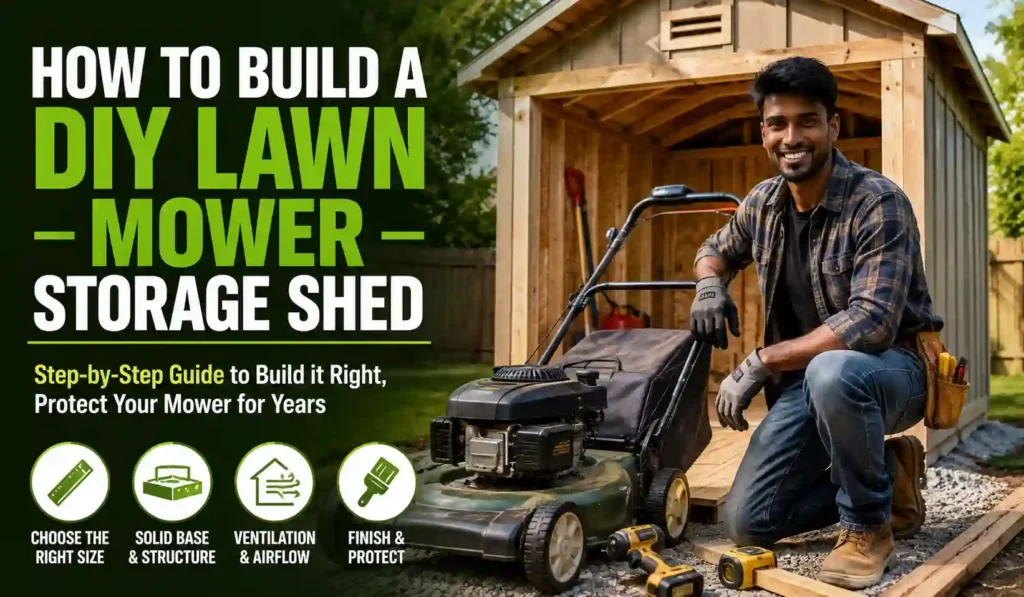
What You’ll Need Before You Start
You don’t need a full workshop for this build. Most of the tools below are common homeowner tools, and the materials are stocked at any lumber yard.
Tools:
- Circular saw or hand saw
- Drill/driver with bits
- Level (2 ft and 4 ft)
- Tape measure and chalk line
- Speed square
- Post hole digger or auger (for a skid or post foundation)
- Caulk gun
Materials (for a 4×6 ft single-mower shed):
- Pressure-treated 4×4 skids (2)
- Pressure-treated 2×4 lumber for floor joists and wall studs
- 3/4-inch pressure-treated plywood for the floor
- 1/2-inch exterior-grade plywood or OSB for walls
- Roofing plywood, felt paper, and shingles or metal roofing panels
- Galvanized deck screws and framing nails
- Two louvered vents (intake low, exhaust high)
- Exterior paint or stain, plus caulk
- One pre-hung shed door or door hardware for a built door
Step 1: Pick the Right Size for Your Mower
Answer first: measure your mower’s length, width, and handle height, then add 12 inches of clearance on every side, plus 18 inches of walking room in front of the door.
A push mower is usually about 3.5 ft long and 2 ft wide with the handle folded. That fits in a 4×6 ft shed with room for a gas can and basic tools. A self-propelled mower needs closer to 5×7 ft. A riding mower or zero-turn needs at least 8×10 ft, and 10×12 ft if you also store a trimmer, blower, and fuel cans.
| Mower Type | Minimum Shed Size | Comfortable Shed Size |
|---|---|---|
| Push mower (manual or electric) | 4×5 ft (1.2 x 1.5 m) | 4×6 ft (1.2 x 1.8 m) |
| Self-propelled gas mower | 4×7 ft (1.2 x 2.1 m) | 5×7 ft (1.5 x 2.1 m) |
| Riding mower | 8×8 ft (2.4 x 2.4 m) | 8×10 ft (2.4 x 3 m) |
| Zero-turn mower | 8×10 ft (2.4 x 3 m) | 10×12 ft (3 x 3.6 m) |
In our shop, the mowers that come in with rusted deck edges almost always spent winters in a shed built too small, with the deck pressed against a damp wall. Size up if you can. The extra plywood costs less than one repair visit.
Step 2: Choose and Prep the Site
Answer first: pick a level spot with good drainage, at least 3 feet from your house’s fence line if your local code sets that setback, and close enough to your yard entry that you’re not dragging the mower across the lawn.
Avoid the lowest point in your yard. Water pools there, and a shed floor sitting in standing water will rot within two or three seasons no matter how well you build it. Walk your yard after a hard rain and note where water sits the longest. Build somewhere else.
Clear a 6-inch layer of topsoil and grass from the footprint, plus 12 extra inches on every side. Check your local building code before you dig. Many areas don’t require a permit for sheds under 120 square feet, but setback rules from property lines still apply almost everywhere.
Step 3: Build the Base
Answer first: a gravel base with pressure-treated skids keeps your shed off wet ground and stops the floor from rotting, and it’s the single most important step in the whole build.
- Dig out the cleared area 4 inches deep.
- Fill with compactible gravel and tamp it flat. Rent a plate compactor for a large shed; hand-tamping works fine for a small one.
- Check level across the whole pad with a 4 ft level and a straight board.
- Lay two pressure-treated 4×4 skids parallel to each other, spaced to match your floor joist plan, usually 4 to 6 feet apart depending on shed width.
- Recheck level on both skids and shim with gravel until they’re dead level.
Skip a gravel base and set the shed straight on soil, and you’re building a shed that will lean within two years. This is the step people rush, and it’s the step that decides whether the shed lasts 5 years or 20.
Step 4: Frame the Floor
Answer first: build the floor as a simple box frame of 2×4 joists on top of the skids, then cover it with 3/4-inch pressure-treated plywood.
- Cut 2×4 joists to length, spaced 16 inches on center.
- Screw the joists to a 2×4 rim board on all four sides to form a rectangle.
- Set the frame on the skids and check it’s square by measuring both diagonals. They should match within 1/4 inch.
- Screw the frame to the skids.
- Lay the plywood floor sheet, screwing every 8 inches into the joists below.
A mower floor takes real weight, especially a riding mower. Don’t skip the 16-inch joist spacing to save lumber. That’s a shortcut that shows up later as a soft, bouncy floor.
Step 5: Frame the Walls
Answer first: build each wall flat on the ground as a 2×4 frame with studs 16 inches apart, then stand it up and screw it to the floor.
- Cut top and bottom plates to the wall’s length.
- Cut studs to your wall height, usually 6 to 7 feet for a walk-in shed.
- Nail studs between the plates, 16 inches on center, including one on each side of the doorway opening.
- Stand each wall up, plumb it with a level, and screw it to the floor frame and to the adjoining wall corners.
- Sheath the walls with 1/2-inch OSB or plywood.
Build the front wall with the door opening sized to your widest mower point, usually the handlebar or the deck width, plus 4 inches of clearance on each side. A door that’s too tight is the single most common complaint we hear from readers who build their own shed and then can’t get the mower back in after winter storage.
Step 6: Build and Set the Roof
Answer first: a simple single-slope (lean-to) roof is the easiest and most reliable option for a mower shed, since it sheds water and snow with no ridge to seal.
- Cut roof rafters with one end higher than the other, giving at least a 2-in-12 slope (2 inches of drop per foot of run) so water runs off.
- Set rafters 16 inches on center, resting on the top wall plates.
- Sheath with roofing plywood.
- Add felt paper or synthetic underlayment.
- Install shingles or a metal roof panel, working from the low edge up.
- Add a drip edge on all sides.
A flat or nearly flat roof is the top cause of leaks we see on backyard sheds. Keep that slope, even if it means one wall is a few inches taller than the other.
Step 7: Add Siding and Trim
Answer first: cover the OSB wall sheathing with weather-resistant siding, such as T1-11 panels, and trim the corners and door opening to seal out water.
T1-11 panel siding is the fastest option for a small shed, since it doubles as both structure and finish in one panel. Caulk every seam before painting. Add corner trim boards to cover raw plywood edges, which are the first spot to swell if left exposed.
Step 8: Add Ventilation and a Ramp
Answer first: install one low vent and one high vent so air moves through the shed, which matters more for a mower shed than almost any other outbuilding because of trapped gas fumes and engine heat.
Gasoline fumes are heavier than air and settle low. A low vent near the floor lets fumes escape instead of pooling. A high vent near the roof peak lets hot, humid air out in summer. Two 6×6 inch louvered vents, one low and one high, on opposite walls, create enough cross-flow for a shed this size.
If you’re storing a riding mower or a self-propelled mower, add a short wooden ramp at the door, sloped no steeper than 15 degrees, so you’re not lifting the mower’s front wheels over a floor lip every time.
Step 9: Paint, Seal, and Finish
Answer first: two coats of exterior paint or solid stain protect the plywood and framing from water, and this step matters as much as the framing itself for how long the shed lasts.
Prime bare wood first. Caulk all seams, corners, and around the door frame before painting. Paint the roof trim and door last, after the walls are dry. Let the final coat cure for 24 hours before moving your mower in, since paint fumes can linger in an unventilated new shed.
Common Mistakes That Cause Shed Failures
These are the mistakes we see most often when a reader’s DIY shed starts falling apart within a year or two.
- Skipping the gravel base. Setting skids straight on dirt lets moisture wick up into the wood. The floor rots from underneath, out of sight, until it gives way.
- No ventilation. A sealed shed traps gas fumes and humidity. We’ve pulled carburetors full of gum-like residue from mowers stored in airtight sheds, caused by fuel evaporating and condensing repeatedly in a space with no airflow.
- Door too small. Builders often frame the door to the mower’s body width and forget the handlebar sticks out several inches on each side.
- Flat or near-flat roof. Any slope under 2-in-12 lets water pool and eventually leak through seams.
- No drip edge or exposed plywood edges. Raw plywood edges soak up water first and swell, which cracks paint and starts rot.
- Building on the yard’s lowest point. Even a well-built shed floods if it sits where rainwater naturally collects.
Safety Notes for Gas Mower Storage
If you’re storing a gas mower and spare fuel, ventilation isn’t optional. Gasoline vapor is flammable at very low concentrations, and a sealed shed lets vapor build up over time. Store fuel in an approved, sealed gas can, never more than what you’ll use in a season, and keep it away from any ignition source.
Check your local fire code for setback distance between a fuel-storing structure and your house. Many jurisdictions require at least 10 feet.
When to DIY vs. When to Buy a Kit Shed
Build from scratch if you want a shed sized exactly to your mower, you have basic carpentry tools, and you can commit one full weekend. A scratch build also costs less per square foot for a small shed, since kit sheds carry a packaging and brand markup.
Buy a kit shed if you want something up in a few hours, you’re not comfortable framing a roof, or your local code requires a shed that matches a specific style for HOA approval. Kit sheds also make more sense for a riding mower shed above 100 square feet, where framing mistakes get expensive fast.
Troubleshooting
The door won’t close square after framing. Check that your floor is level first. A floor that’s out of level by even half an inch across a doorway width will rack the whole wall frame out of square.
The roof is leaking at the seams. Check your roof slope. Anything under 2-in-12 doesn’t shed water fast enough, especially with plywood or shingle roofing. Add a second layer of underlayment at the seams as a short-term fix, but the real fix is rebuilding with more slope.
The mower deck is rusting even inside the shed. This is almost always a ventilation or floor-moisture issue, not a mower issue. Check for water intrusion at the base first, then confirm both vents are clear and unobstructed.
The shed smells like gasoline. This means your low vent isn’t doing its job, or fuel is being stored in a container that isn’t sealed. Fix ventilation before anything else, and never store fuel in anything other than an approved gas can.
Total Cost of Ownership
A 4×6 ft single-mower shed built from new lumber typically runs $400 to $700 in materials as of [CURRENT YEAR], not counting a rented compactor. An 8×10 ft riding mower shed runs closer to $1,000 to $1,800. Add $50 to $100 a year for touch-up paint and caulk to keep water out.
Compare that to what a poorly stored mower costs in repairs. In our shop, a rust-seized deck spindle repair typically runs $80 to $150 in parts and labor, and a gummed-up carburetor cleaning runs $60 to $120. A properly built, ventilated shed usually pays for itself within two or three seasons just in repairs avoided.
Frequently Asked Questions
How big should a lawn mower shed be?
A single push mower needs at least a 4×5 ft shed, with 4×6 ft giving comfortable room for tools and a gas can. A riding mower needs at least 8×10 ft.
Do I need a permit to build a mower shed?
Many areas skip permits for sheds under 120 square feet, but setback rules from property lines almost always still apply. Check your local building department before you start.
Can I store a gas mower in a fully sealed shed?
No. A sealed shed traps gas vapor and humidity, which raises fire risk and causes carburetor gum-up. Always include a low and a high vent.
How do I stop the shed floor from rotting?
Set the shed on a gravel base with pressure-treated skids, never straight on dirt or grass. This keeps the floor away from ground moisture.
Is a kit shed cheaper than building from scratch?
For a small shed, building from scratch is usually cheaper per square foot. Kit sheds save time but carry a brand and packaging markup, and they make more sense for larger riding mower sheds.
What roof slope do I need on a mower shed?
Use at least a 2-in-12 slope on a single-slope roof. Anything flatter tends to pool water and leak at the seams.
Conclusion
A mower shed is a weekend project if you get three things right: a level, gravel base, a door sized to your mower’s widest point, and real ventilation. Skip any one of those and you’re looking at repairs within a year or two, either to the shed or to the mower inside it. Build it once, build it right, and it’ll outlast the mower you’re storing in it.
Pingback: Best Lawn Mower Covers in 2026
Pingback: How to Store a Lawn Mower in a Small Garage