Quick Overview
- A zero-turn hydrostatic transmission needs a fluid check every 25 hours. It needs a full fluid change every 200-500 hours, depending on your model.
- First, find out if your transaxle is sealed or serviceable. Sealed units cannot be drained or refilled by hand.
- Overheating, not old age, is the top cause of hydrostatic transmission failure in Siddik’s repair shop.
- Skipping the air-purge step after a fluid change causes sluggish or jerky movement. This happens even with fresh fluid in the tank.
- A DIY fluid and filter change costs $30-80 in parts. A failed sealed transaxle can cost $600-1,500 per side to replace.
Zero-turn hydrostatic transmission maintenance means a few simple habits. You check the fluid level. You clean the cooling fins. You change the fluid and filter on a set schedule. These habits keep your mower’s independent wheel motors running smooth and cool. This guide walks through every step in order. It also covers the mistakes that send these transmissions to an early grave. And it tells you when to fix it yourself and when to call a shop.
In Brief
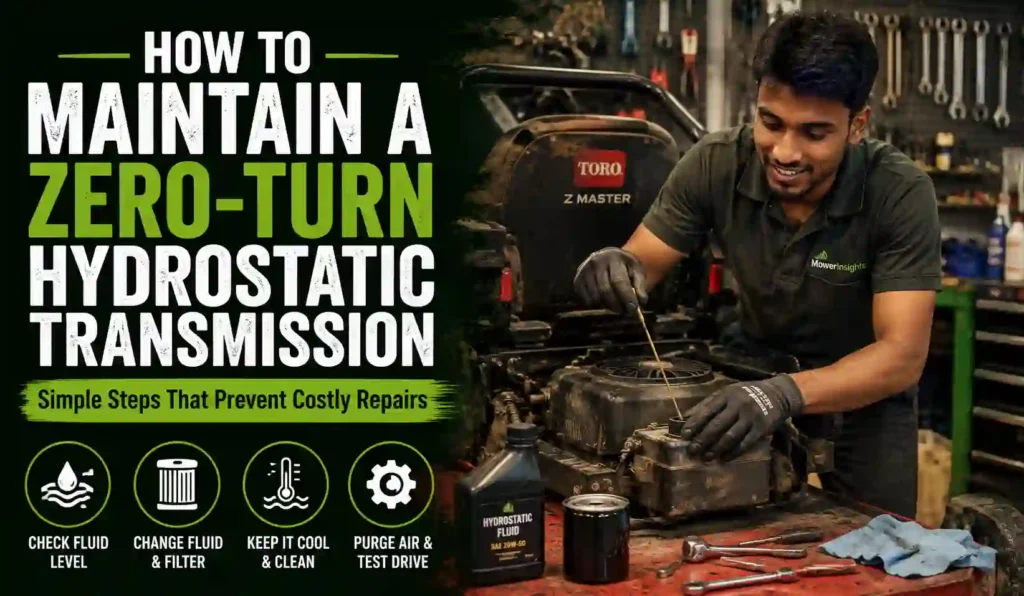
Check the fluid level every 25 hours of use. Keep the cooling fins clean after every mow. Change the fluid and filter every 200-500 hours, based on your manual. Always purge air from the system after any fluid change. Never run the mower with the bypass valve open. These five habits prevent most hydrostatic transmission failures.
What You Need Before You Start
Gather these items first. This saves you a trip back to the shed mid-job.
- Owner’s manual for your exact model
- OEM hydrostatic fluid or approved 20W-50 oil (check your manual first)
- New hydrostatic filter, if your unit is serviceable
- A clean drain pan
- A basic wrench set and a hex key set
- Wheel ramps or rated jack stands
- Shop rags and a soft-bristle brush
- Nitrile gloves and eye protection
- A funnel for clean, controlled refilling
Two systems power a zero-turn’s turning. One hydraulic pump drives each rear wheel. Each pump has its own motor. This setup lets one wheel spin forward. At the same time, the other wheel can spin back. That is how the mower spins in a tight circle.
Keep this in mind through every step below. You will check, clean, and service each side. Do not skip one side just because the other side looks fine. Problems often start small on just one wheel.
How a Hydrostatic Transmission Actually Works
You do not need an engineering degree to maintain this system. But a quick picture helps the steps below make sense.
A small pump sits inside each transaxle. The engine spins this pump through the drive belt. The pump pushes hydraulic fluid through internal channels under pressure.
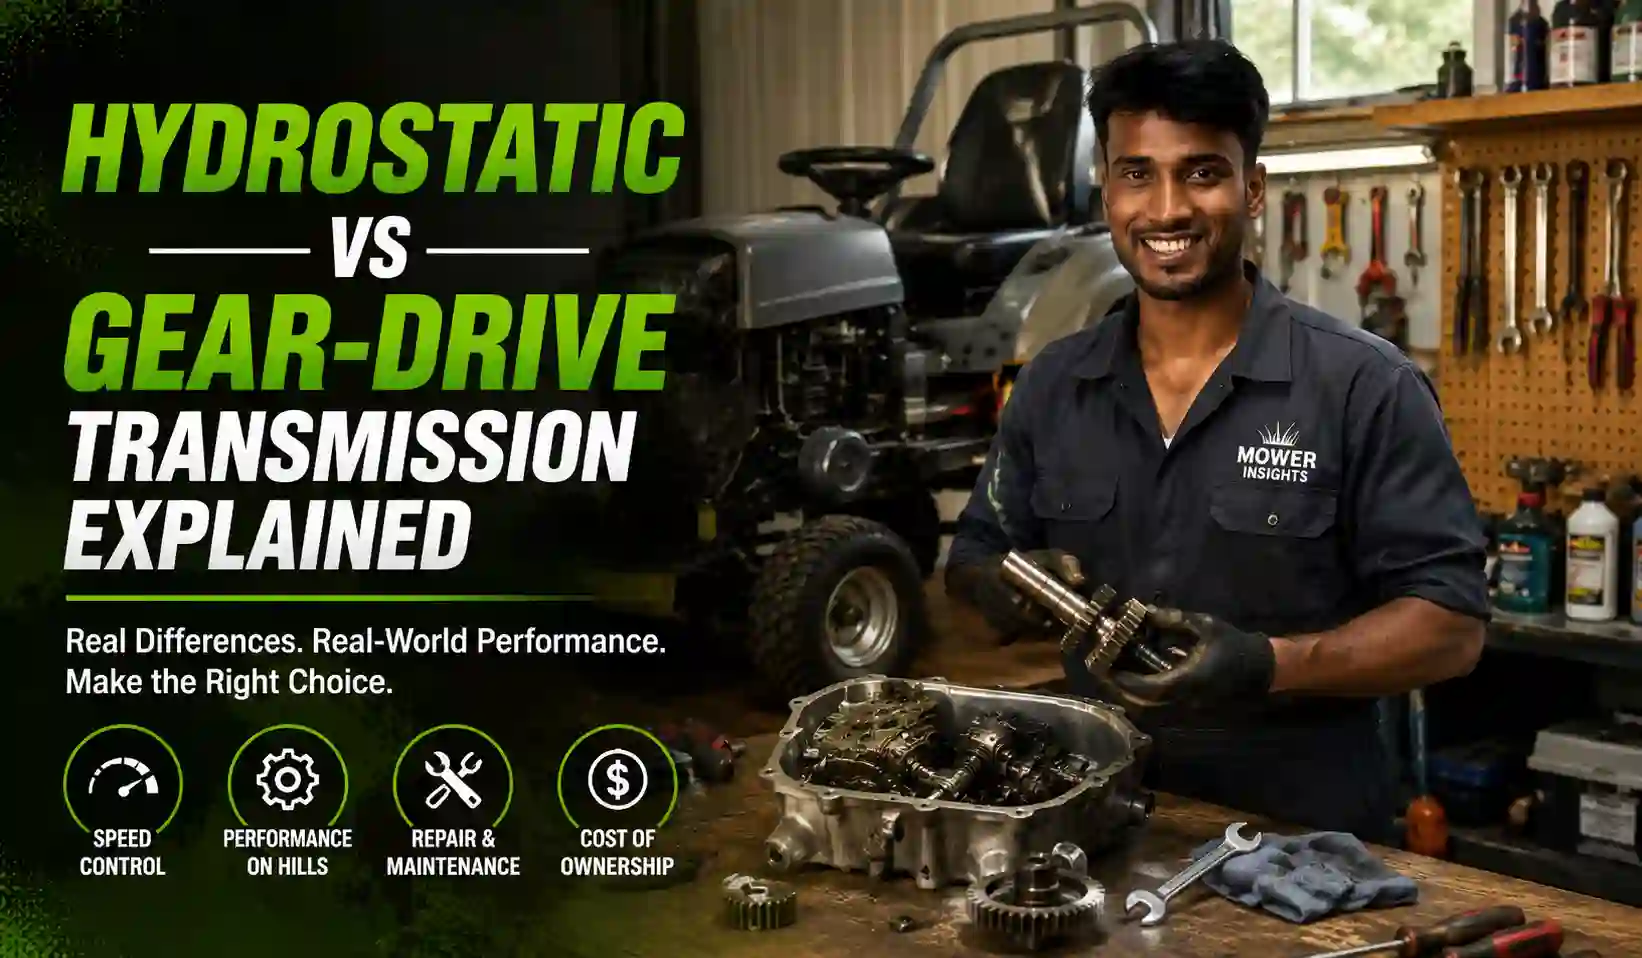
That pressurized fluid drives a small motor. The motor turns the wheel. More pressure means more speed. Less pressure means less speed. No pressure at all means the wheel stops turning.
Push a lever forward, and fluid flows one way. Pull it back, and fluid flows the other way. This is why one wheel can spin forward while the other spins backward at the exact same moment.
The bypass valve is a simple shortcut. Opening it lets fluid bypass the motor entirely. This is what lets you push a dead mower by hand, without fighting the pump.
Heat builds up as fluid moves under pressure again and again. This is normal. Too much heat, for too long, breaks the fluid down and wears the seals early. That single fact is why cooling and fluid quality matter more here than on almost any other mower part.

Step 1: Confirm Your Transaxle Type
Look for a fill cap near each rear wheel. Also look for a dipstick or a drain plug. If you see any of these, your unit is serviceable. You can drain and refill it yourself.
If you see no cap and no drain plug, your unit is sealed. Hydro-Gear and Tuff Torq make most sealed units used on residential zero-turns. Parker and other commercial-grade brands often use serviceable units instead. Sealed transaxles are lubed for life at the factory. You cannot service them at home, even with the right tools.
Write down the transaxle brand and model number now. You will find it stamped on the housing, usually on a metal tag. This number tells you the exact fluid type and service interval later.
Many entry-level residential zero-turns use sealed units. Many mid-range and commercial zero-turns use serviceable units. This split explains why online advice on intervals looks so different from site to site. A sealed-unit owner and a serviceable-unit owner are reading two different instruction sets, even for the same brand of mower.
Step 2: Park Safely and Let It Cool
Park the mower on a flat, level surface. A garage floor or driveway works well. Engage the parking brake. Remove the key from the ignition.
Let the engine and transmission cool for 30 minutes. Hot hydraulic fluid can burn skin on contact. Siddik has seen this happen in his own shop. A rushed tech skipped the cooldown once. He got a fluid burn on his forearm from a hot fitting.
Chock the front wheels before you start work. This stops any rolling once you lift the back end for inspection. A mower that rolls even a few inches can pin a hand or a tool underneath.
Step 3: Check the Fluid Level
Wipe the area around the fill cap or dipstick clean first. Dirt near the cap can fall into the reservoir when you open it. Even a small amount of grit can score internal pump surfaces over time.
Pull the dipstick, or check the sight glass on the reservoir. Compare the level to the marked “FULL COLD” line. Check this only when the fluid is cold, before you mow that day. A hot check gives you a false high reading, since fluid expands as it warms.
Low fluid on just one side is a common finding in Siddik’s shop. He sees this most often on mowers that sat tilted in storage over winter. A tilt shifts fluid unevenly between the two separate reservoirs.
Add fluid slowly if the level sits low. Recheck the level after each small addition. Overfilling causes foaming inside the reservoir, and foaming causes the exact same symptoms as running low. Both starve the pump of clean, steady fluid pressure.
Step 4: Inspect for Leaks
Look at every hose, fitting, and seal on both transaxles. Get down low with a flashlight for a proper look. Fresh, wet oil on a hose usually means a loose fitting. Dried, dusty residue points to an older, slower leak that has been building for a while.
Try tightening a leaking fitting a quarter turn first. A small turn often stops a minor seep completely. Do not overtighten the fitting. Overtightening can crack a fitting or strip its threads, turning a small leak into a bigger one.
If a hose is split, mark it for replacement right away. If a seal looks worn through, mark that too. Do not run the mower until this is fixed. A hydraulic leak drops fluid fast once the system is under pressure and moving.
Check the area under the mower after it has sat overnight. A fresh spot on the floor tells you exactly where to look the next morning, even if you missed the leak during your walk-around.
Step 5: Check the Drive Belt
The drive belt connects the engine to both hydrostatic pumps. A worn belt slips under load. A slipping belt starves both pumps of steady power, even if the fluid itself is perfect.
Look for cracks along the belt’s inner edge. Look for a glazed, shiny surface too. A glazed belt looks shiny and feels hard, not soft and rubbery like a healthy belt.
Press the belt at its midpoint with one finger. It should flex about half an inch under light pressure. Too much slack means the tensioner needs adjustment before you mow again.
Replace the belt now if you see any cracking at all. Do not wait for it to get worse. A snapped belt mid-mow leaves you stuck with a mower that will not move, sometimes far from the garage.
Step 6: Clean the Cooling System
Hydrostatic transmissions run hot by design. Fluid temperatures often pass 180°F during normal mowing on a warm day (Seacoast Power, 2026). Heat is the single biggest enemy of these systems, more than age or normal wear.
Grass clippings and dust build up fast on the cooling fan and fins. This buildup blocks airflow right where the system needs to shed heat the most. A blocked fan works twice as hard and cools half as well.
Brush off the fan blades and fins after every mow, not just at service time. Use a soft brush, not a stiff wire brush that can bend the thin fins. Avoid pointing compressed air straight at a seal. Compressed air can force fine debris deeper into the housing instead of out.

Siddik has opened up transaxles that ran hot for years without a single fin cleaning. The fluid inside looked like dark varnish, not clean amber oil. That varnish coats internal parts and speeds up wear on pumps and motors alike. A five-minute brush-off after each mow would have prevented most of that damage.
Step 7: Change the Fluid and Filter
Skip this step if your transaxle is sealed. Move straight to Step 9 instead.
Run the mower for five minutes first. Warm fluid drains faster than cold fluid. It also carries out more debris and sludge as it flows, giving you a cleaner system afterward.
Park level again and let the engine cool slightly before you touch any hot metal. Place your drain pan under the transaxle. Remove the drain plug fully and let the old fluid flow out completely. This can take several minutes per side.
Check the color of the old fluid as it drains. Clean fluid looks amber and flows smoothly. Dark, burnt-smelling fluid tells you the system ran hot at some point in its life.
Remove the old filter if your model uses one. Install the new filter by hand until it feels snug. Then give it a quarter turn more with a strap wrench, not a full hard tighten.
Replace the drain plug securely. Refill through the fill port using your approved fluid type only. Fill to about 50% of the stated capacity for now. You will top it off fully after the purge step below.
Repeat this entire step on the second side before moving on. Skipping the second side is a common shortcut that leaves one pump under-serviced.
Step 8: Purge Air From the System
This step gets skipped more than any other. Skipping it causes most of the “I changed the fluid but it’s still sluggish” complaints Siddik hears at the counter.
Locate the bypass valve on each transaxle. Your manual will show the exact spot for your model. Open both bypass valves fully. This lets you push the mower by hand without engaging either pump.
Start the engine and let it idle steadily. Move both drive levers slowly through their full range, forward and back, for about two minutes. This motion pushes trapped air out of the internal lines and up into the reservoir, where it can escape.
Watch the vent plugs on each reservoir closely during this step. Fluid dripping from a vent means the air has cleared that side. Bubbles or a hissing sound means air is still trapped there. Close that vent only once you see steady fluid, not foam or bubbles.
Close both bypass valves fully once venting looks clean. Top off the fluid to the FULL COLD line now that the trapped air is gone.
Test drive slowly in an open, flat area. A properly purged system feels smooth and even on both sides. Pulling to one side after this step almost always means that side still has trapped air, not a mechanical fault.
Step 9: Grease and Final Checks
Check your manual for grease fittings on the steering linkage or caster wheel pivots. Not every model has these. Some models use sealed bearings that need no grease at all.
Apply grease with a hand gun in slow, short pumps. Stop once you see a small amount push out at the joint itself. Wipe away any excess grease so it does not attract fresh dirt and grass.
Recheck every fitting, hose, and the drive belt one more time before you close things up. This last pass catches anything you missed during the earlier, faster walk-around.
Step 10: Test Drive and Recheck
Drive the mower forward on flat, open ground first. Then try reverse. Then try a full, tight spin in place. Listen closely for any whining, growling, or grinding sound from either side.
Check that both sides move at a matching speed for the same lever input. Uneven speed at a matching lever position points right back to trapped air. It can also point to a low fluid level on just one side.
Shut the mower off completely once the test drive is done. Let it sit for ten minutes to cool and settle. Recheck the fluid level one final time. Top off again if the level has dropped even slightly.
How Your Mowing Habits Affect Transmission Life
Mowing style changes wear speed just as much as the fluid schedule does. A few habits push a hydrostatic system harder than normal use.
Fast, repeated direction changes strain both pumps at once. Whipping the levers hard, forward to reverse, spikes pressure inside the system every single time. Ease the levers through neutral instead of snapping them.
Mowing steep slopes for long stretches loads one side’s pump more than the other. Siddik tells customers to slow down on hills, not just for safety, but for the transmission’s sake too.
Thick, wet grass makes both pumps work harder to keep speed steady. Slowing your ground speed in these conditions reduces heat buildup right when the system is already working hardest.
Long mowing sessions in full sun raise fluid temperature further, on top of the heat the pumps already generate. A short break every hour or so gives the fluid time to shed some of that heat naturally.
Seasonal Maintenance Checklist
Split your hydrostatic care into three simple windows. This keeps the job from piling up into one long session.
Spring start-up. Check fluid level on both sides before the first mow. Brush off any fins that collected dust over winter storage. Check the belt for cracks that formed during cold storage. Check both bypass valves move freely.
Mid-season check. Do a quick visual leak check every few weeks during heavy mowing months. Brush the fins clean after every single mow, not just once a month. Watch for any new noise or pulling to one side.
End-of-season winterizing. Change the fluid and filter if you are close to your service interval. Store the mower level, not tilted or on a slope. Cover the mower to keep dust off the cooling fins over winter.
Signs You Need a Professional Inspection Now
Some symptoms mean stop mowing and call a shop, not “keep an eye on it.” Waiting on these often turns a repair into a full replacement.
- A sudden, sharp drop in fluid level with no visible puddle. This can mean an internal leak inside the housing itself.
- A burning smell during normal mowing, not just on a hot day. This points to serious overheating already in progress.
- Metal shavings or flecks in drained fluid. This means internal parts are already wearing against each other.
- A loud clunk when shifting from forward to reverse. This can mean internal gear or pump damage.
- Fluid that looks milky or foamy right after a top-off. This can mean water contamination inside the reservoir.
Siddik tells customers that a strange smell is often the earliest warning sign, arriving well before any noise or performance drop. Trust that signal and get it checked the same week, not at the next scheduled service.
Common Mistakes That Damage a Hydrostatic Transmission
- Using the wrong fluid type. Some mowers need OEM hydraulic fluid, not motor oil. Using the wrong type can void your warranty. It can also speed up seal wear inside the pump.
- Skipping the cooling fin cleaning. Grass buildup traps heat on every single mow. This is the single fastest way to cook a transaxle from the inside out.
- Running with the bypass valve open. This lets the mower roll freely without engaging the pumps at all. Mowing this way stresses the system and wastes engine power for no benefit.
- Ignoring a slow leak. A small drip today becomes a dry, damaged pump next season. Fix leaks the same day you spot them, not at the next scheduled service.
- Storing the mower on a slope. This shifts fluid unevenly between the two sides over time. Store the mower on level ground whenever you can, especially over winter.
- Overfilling after a top-off. Too much fluid causes foaming inside the reservoir. Foaming reduces the fluid’s ability to lubricate and cool the pump properly.
- Mowing through deep water or flooded grass. Water can enter through a vent and contaminate the fluid. Contaminated fluid loses its lubricating properties fast, even in small amounts.

Safety Notes
Always remove the key before working near the transaxle. Never rely on the parking brake alone for safety. Use wheel chocks as a backup every time.
Let the mower cool fully before touching the transaxle or any hose. Hot hydraulic fluid can cause serious burns on bare skin within seconds of contact.
Wear gloves and eye protection when draining fluid or working near the bypass valve. Splashing fluid can happen without any warning, especially under pressure.
Never work under a mower held up by a jack alone. Use jack stands rated for the mower’s full weight, placed on a flat, solid surface.
Dispose of used hydraulic fluid at an approved recycling center only. Do not pour it down a drain or onto the ground under any circumstances.
Keep a fire extinguisher nearby whenever you work near fuel and hot engine parts together. This is basic shop practice, not an extra precaution.
When to DIY vs. When to Call a Professional
Good fit for DIY: fluid level checks, cooling fin cleaning, belt inspection, and fluid or filter changes on a serviceable transaxle. These jobs need only basic tools. Most owners finish each side in about 30-45 minutes once they know the steps.
Not a good fit for DIY: any repair on a sealed transaxle, an internal pump or motor failure, or a hydraulic leak coming from inside the housing rather than a hose fitting. These jobs need special tools. They also need a clean shop space and real diagnostic experience to avoid making things worse.
In Siddik’s shop, the most common reason a hydrostatic transaxle comes in for repair is heat damage. Years of skipped fin cleaning cause this damage slowly, not a single big mistake. By the time a customer notices sluggish movement, internal wear has usually already started well before that point. Where genuinely relevant, MowerInsights offers hands-on repair and maintenance service out of our Milan shop for readers in the area.
If your mower is still under warranty, call the dealer before opening a sealed unit yourself. Opening a sealed transaxle almost always voids the remaining warranty coverage.
Troubleshooting: Symptom, Cause, and Fix
| Symptom | Likely Cause | Fix |
|---|---|---|
| Mower pulls to one side | Low fluid or trapped air on one side | Check and top off the level; run the full purge steps |
| Sluggish movement on both sides | Low fluid, a worn belt, or a clogged filter | Refill fluid; inspect the belt; replace the filter |
| Mower will not move at all | Bypass valve left open, or a snapped belt | Close both bypass valves; replace the belt if broken |
| Whining or growling noise | Trapped air, low fluid, or a failing bearing | Purge the system; check the level; have a pro inspect the bearing |
| Works fine cold, weak once warm | Overheated or old fluid, clogged cooling fins | Clean the fins; change the fluid; recheck the level after cooling |
| Jerky, uneven movement after a fluid change | Air still trapped in the lines | Repeat the full purge process on both sides |
Total Cost of Ownership
| Service | Typical Cost | Frequency |
|---|---|---|
| Fluid + filter change (DIY, serviceable unit) | $30-80 in parts | Every 200-500 hours |
| Fluid + filter change (shop labor + parts) | $120-250 | Every 200-500 hours |
| Drive belt replacement | $25-60 in parts | As needed; check yearly |
| Sealed transaxle replacement, per side | $600-1,500 | Only after failure |
A $50 fluid change now is far cheaper than a $1,500 transaxle later. Regular checks are the entire point of this guide, and the math above shows exactly why.
Frequently Asked Questions
How often should I change zero-turn hydrostatic transmission fluid?
Most manufacturers call for a full change every 200-500 hours. They also call for an earlier first change at 50-100 hours to clear break-in debris. Check your specific manual, since intervals vary by brand and by whether your unit is sealed or serviceable.
What fluid does a zero-turn hydrostatic transmission use?
Many models use OEM hydraulic fluid. Others approve SAE 20W-50 motor oil instead. Always confirm the exact spec in your owner’s manual before you add any fluid to the system.
Can I use regular motor oil in a hydrostatic transmission?
Only if your manufacturer specifically approves it for your exact model. Some brands require OEM hydraulic fluid instead. Using the wrong type can damage seals or void your remaining warranty.
How do I know if my transaxle is sealed or serviceable?
Check for a fill cap, a dipstick, or a drain plug near the rear wheel. If none of these exist, the unit is sealed. It cannot be drained or refilled at home, even with the right tools.
Why does my zero-turn mower pull to one side?
This usually points to uneven fluid levels between the two sides. It can also point to trapped air in one line. Check both levels first, then run the air-purge steps in this guide.
How do I purge air from a hydrostatic transmission?
Open both bypass valves fully first. Then cycle the drive levers slowly through their full range for about two minutes with the engine idling. Close each valve once fluid, not air, comes from that side’s vent plug.
How much does it cost to fix a hydrostatic transmission?
A DIY fluid and filter change runs about $30-80 in parts. A full sealed transaxle replacement can run $600-1,500 per side. This gap is exactly why routine maintenance pays for itself.
How long do zero-turn hydrostatic transmissions typically last?
Well-maintained units can run 1,500-2,500 hours before major work is needed. Neglected units can fail as early as 500-800 hours, mainly from heat damage.
Do I need to service both sides at the same time?
Not always. A light whine right after a fluid change usually means trapped air, not damage. A whine that gets louder over weeks, or that comes with weak movement, points to a real mechanical issue and needs a closer look.
Can cold weather damage a hydrostatic transmission?
Very cold fluid moves slowly and does not lubricate as well until it warms up. Let the mower idle for a minute or two on cold mornings before you engage the drive levers hard. This short warm-up protects the pump on chilly start-ups.
Summary
Check the fluid level every 25 hours. Keep the cooling fins clean after each mow. Change the fluid and filter every 200-500 hours on a serviceable unit. Always purge air afterward, on both sides. Confirm sealed vs. serviceable before you buy any parts. Small habits here prevent the single most expensive repair on the whole machine.
Pingback: Lawn Mower Maintenance Schedule: What to Do and When