Quick Answer
- A bad ignition coil is the top reason a mower has no spark. You can test it at home in under 15 minutes.
- Use a $10-$15 spark tester for the best result. Unplug the kill wire first. Clip the tester to the plug lead. Spin the flywheel fast. Watch for a blue spark.
- No spark, with the kill wire off, means the coil is bad.
- Spark that comes back once you unplug the kill wire points to a wiring fault, not the coil.
- A new coil costs about 25 to 60 euros. A shop visit for the full job runs about 70 to 150 euros in the EU.
What “Testing a Lawn Mower Ignition Coil” Actually Means
Your mower needs spark to start. No spark means no start. The ignition coil makes that spark. It sits near the flywheel. Testing the coil means checking if it fires at the right moment.
This guide shows my exact shop test. I use it every week in Milan. It covers the spark-tester method. It covers the multimeter method too. It also covers common mistakes and real repair costs.
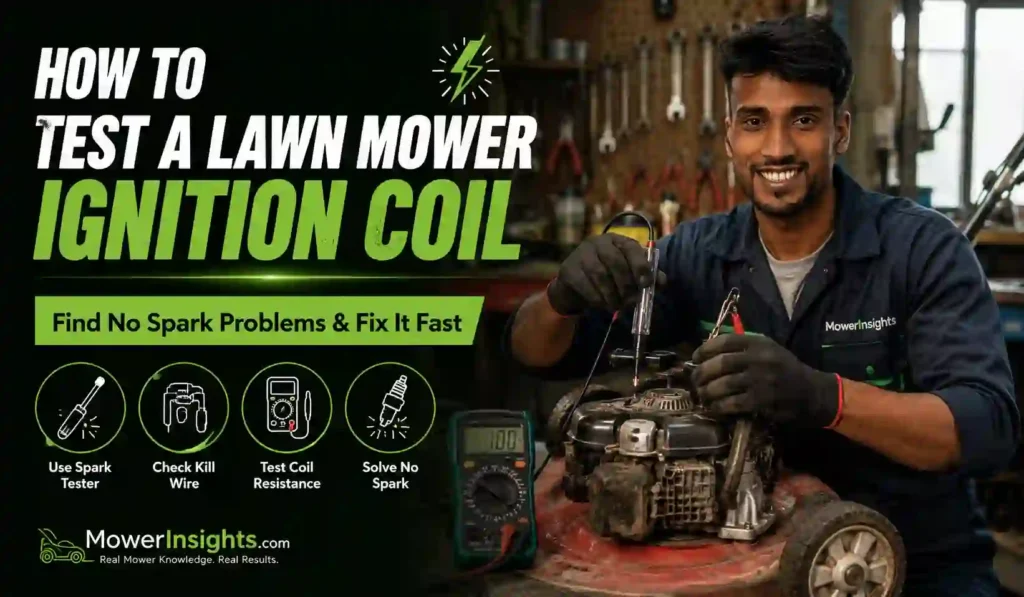
First, unplug the coil’s kill wire. Next, clip an inline spark tester to the spark plug lead. Then ground the tester’s clip to bare metal on the engine. Pull the starter cord fast. Or spin the flywheel with a drill. Watch the tester window. A bright blue spark means the coil works. No spark means the coil failed, or the kill wire is grounding it out.

What You Need Before You Start
You do not need a full workshop for this job. Most tools here cost under 20 euros total. You may already own a few.
- Inline spark tester (about 8-12 euros). This tool matters most. Never test spark by holding the plug near bare skin.
- Socket wrench with a spark plug socket. Use it to pull the plug for a look.
- Digital multimeter (about 10-15 euros). Use it for the resistance check.
- Work gloves and safety glasses. The flywheel spins fast during this test.
- Your engine’s repair manual, if you have one. It lists exact resistance specs.
- Optional: a cordless drill and the right socket size. This spins the flywheel without a hard cord pull.

Step-by-Step: How to Test the Coil
Step 1: Pull the Spark Plug First
Remove the spark plug lead. Then pull the plug itself with a socket. Look at the tip closely. A wet or black tip often points to fuel trouble, not the coil. A dry, clean tip usually means the real fault is spark. This one check can save you a wasted coil swap.
Step 2: Disconnect the Kill Wire From the Coil
Every mower coil has a thin wire. It runs to the kill switch or the safety bar. This wire is called the secondary wire. Some shops just call it the kill wire. Find its small spade connector on the coil. Pull that connector off.
This step matters more than most guides admit. A coil is built to fire with the kill wire off. Leave it connected, and a short can fake a “bad coil” result every time.
Step 3: Attach the Spark Tester
Clip one end of the tester to the plug lead. That’s the wire from the coil to the plug. Clip the tester’s ground clip to bare metal. A head bolt works well. Set the tester where you can see its window. Stand at a safe distance.
Step 4: Spin the Flywheel and Watch for Spark
Pull the starter cord hard, in one clean motion. In my shop, I often use a drill instead. I chuck a socket onto the flywheel nut. A drill spins faster and more evenly than a hand pull. Briggs & Stratton’s own service guidance calls for at least 350 RPM. That speed gives a reliable reading (Briggs & Stratton, 2026).
Watch the tester window as the flywheel spins. A strong blue spark means the coil is making power.
Step 5: Read the Result
No spark at all, with the kill wire off, means the coil failed. It needs a replacement. Small-engine coils rarely fail halfway. They either work, or they don’t.
Spark appears only with the kill wire off. It vanishes when you plug the wire back in. This means the coil is fine. The real fault sits in the kill wire, or in a bad stop switch.
Step 6: Confirm With a Multimeter (Optional but Useful)
Set your multimeter to the ohms setting. Touch one probe to the coil’s primary terminal. Touch the other probe to clean ground. Compare your reading to the manual’s spec range. Most primary windings read very low resistance. Often it sits under 1 ohm. Secondary windings read much higher. The range often runs into the thousands of ohms.
A reading of zero means trouble. A reading of infinite resistance means trouble too. Both point to a failed coil. Use this step as a second opinion. It should not replace the spark test.
Step 7: Inspect the Flywheel Key and Magnets
Sometimes the coil tests fine, but you still get no spark. Check the flywheel key next. This is a small metal pin. It keeps the flywheel timed to the crankshaft. A hard blade strike, like hitting a rock, can shear this pin. Once it shears, the flywheel’s magnets miss their timing. Spark falls apart, even with a healthy coil.
Step 8: Set the Coil Gap on Reinstall
Are you fitting a new coil? Armature-style coils need a precise gap from the flywheel. Common gaps run from 0.006 to 0.014 inches (Briggs & Stratton, 2026). The exact number depends on your model. Most new coils ship with a plastic shim card. Slide that shim between the flywheel and the coil. Let the flywheel’s magnet pull the coil against the shim. Tighten the mounting screws. Then slide the shim out.
Common Mistakes That Waste Your Time
I see the same three mistakes every season in my shop. Each one leads to a good coil getting tossed out.
- Testing with the kill wire still connected. This is the top cause of a false “bad coil” call. A shorted kill wire copies a dead coil almost perfectly.
- Clipping the tester to painted metal. Paint blocks electricity. A weak reading often just means a bad ground clip, not a bad coil.
- Spinning the flywheel too slowly. A tired hand pull will not hit the RPM some coils need. This can look like a fail, even on a healthy coil.
Safety Notes
Keep hands, sleeves, and tools clear of the flywheel. Keep them clear of any belts too, while spinning the engine. Wear safety glasses. The spark tester sits close to your face during this test. Disconnect the plug lead when you are not testing. Do this before pulling the plug. Do this before any work near the blade. Never ground the plug lead against your own skin. Never do this test with wet hands.
When to DIY vs. When to Call a Pro
This test is safe and simple for most homeowners. Basic tools are all you need. Swapping the coil is often a DIY job too. On most walk-behind mowers, it’s just two or three screws. Add two wire clips, and the job is done.
Call a pro if you don’t want to open the flywheel cover. Call one if the flywheel key looks sheared. A cracked flywheel needs a trained eye. Also call a pro if your multimeter readings don’t match the manual. A second opinion beats guessing before you buy a part.
Troubleshooting: No Spark, Weak Spark, Intermittent Spark
| Symptom | Likely Cause | Fix |
|---|---|---|
| No spark, kill wire connected | Kill wire shorted to ground | Disconnect kill wire, retest. Repair or replace the wire. |
| No spark, kill wire disconnected | Failed ignition coil | Replace the coil. |
| Weak or orange spark | Wide plug gap, or a worn plug | Regap or replace the spark plug. |
| Spark present, engine still won’t start | Fuel or carburetor issue | [INTERNAL LINK: mower fuel and carburetor troubleshooting → /lawn-mower-troubleshooting/] |
| Spark stops after a short run | Coil overheats and fails under heat | Let the engine cool, retest. Replace the coil if it repeats. |
| No spark, flywheel feels loose | Sheared flywheel key | Replace the key. Re-time the flywheel. |
What a Coil Replacement Really Costs
A new small-engine ignition coil costs about 25 to 60 euros. The price depends on brand and model. Doing the swap yourself keeps costs low. You pay for parts only. Add maybe an hour of your own time.
A repair shop visit costs more. Expect 70 to 150 euros total across most of the EU. That price covers labor plus the part. In our shop, coil jobs move fast. We often finish same-day, if the part is in stock.
FAQ
What is the ignition coil on a lawn mower?
The ignition coil turns the flywheel’s spin into spark. Magnets on the flywheel pass the coil as it spins. This spark ignites the fuel-air mix. That mix is what starts the engine.
How do I know if my mower’s ignition coil is bad?
Test it with an inline spark tester. First, disconnect the kill wire. Then spin the flywheel fast. No spark confirms a bad coil (Briggs & Stratton, 2026).
Can I test an ignition coil without a spark tester?
Yes, a multimeter works too. Check primary and secondary resistance. Compare it to your manual’s spec. This method is less reliable than a spark test. A coil can pass this check and still fail under load.
Why does my mower have spark but still won’t start?
Spark alone does not guarantee a start. Check fuel delivery next. Check the carburetor too. Old fuel and a dirty air filter cause many no-start cases.
How much does it cost to replace a lawn mower ignition coil?
Expect 25 to 60 euros for the part alone. A full shop job runs about 70 to 150 euros, as of 2026.
Can a bad ignition coil damage other engine parts?
Usually not on its own. But repeated hard cranking, while you troubleshoot, can strain the starter rope over time.
Key Takeaways
- Always disconnect the kill wire before testing. Skip this, and you risk a false bad-coil reading.
- Spin the tester at 350+ RPM for the most reliable result.
- No spark, with the kill wire off, means the coil failed.
- Spark that returns once the kill wire is unplugged points to a wiring fault, not the coil.
- Check the flywheel key too. A sheared key mimics coil failure. It’s a different, cheaper fix.