Sharpening a lawn mower blade at home takes about 20-30 minutes. Disconnect the spark plug, tip the mower on its side with the air filter facing up, remove the blade with a socket wrench, sharpen the cutting edges with a file or grinder at the factory 22-30 degree bevel angle, check the balance on a nail or blade balancer, then reinstall and torque the bolt to spec. You need a socket set, a file or bench grinder, safety gloves, and a blade balancer. Most residential blades need this two to three times per mowing season.
I’ve pulled more mower blades off decks than I can count, both in my own repair shop in Milan and back when I was field-testing mowers for this site. Most of them didn’t need replacing. They needed 20 minutes with a file and someone who knew the right angle to hold it at. That’s really all blade sharpening is – a small mechanical job that gets treated like a mystery because most guides skip the details that actually matter, like bolt torque and balance.
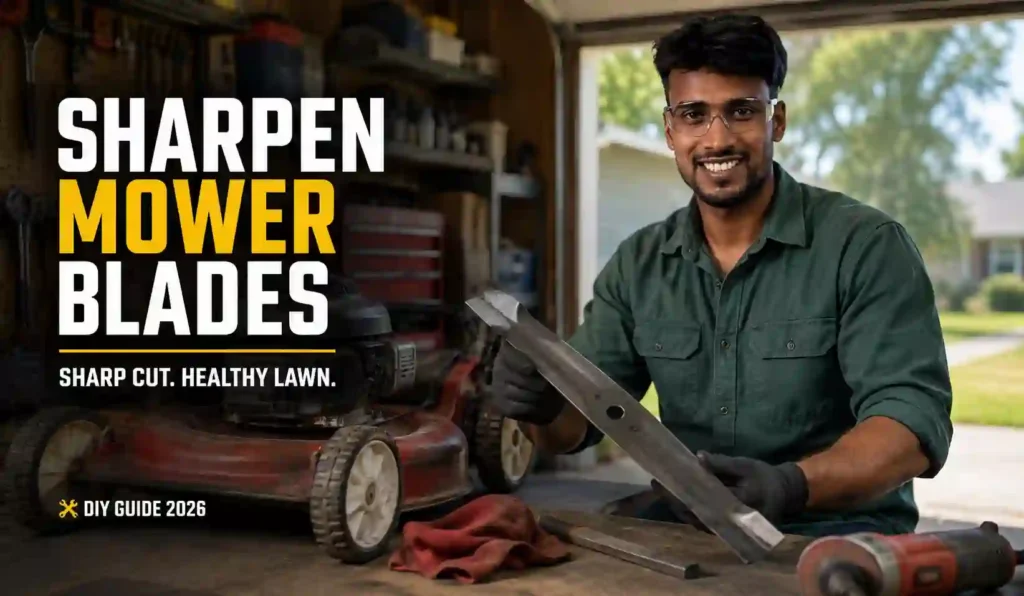
What You’ll Need
Before you start, gather these tools. Having everything ready keeps the job to under half an hour instead of stretching into an afternoon of searching the garage.
- Socket wrench with a socket matching your blade bolt (usually 15mm or 9/16 inch on US residential mowers)
- A block of wood or a bolt-through-the-deck trick to stop the blade from spinning while you loosen it
- A metal file (10-12 inch mill bastard file) or a bench grinder with a coarse wheel
- Heavy work gloves – cut-resistant, not garden gloves
- Safety glasses
- A blade balancer (a $8-12 cone-shaped tool) or a large nail driven into a wall stud
- A torque wrench, if you want to reinstall to exact spec instead of “tight enough”
- Rag and a bit of degreaser for cleaning the underside of the deck while it’s exposed
You do not need a specialty blade sharpening jig for a residential push or self-propelled mower. Those tools earn their keep on a landscaping crew sharpening a dozen blades a week, not for a homeowner doing this two or three times a season.
Step-by-Step Blade Sharpening Instructions
Step 1: Disconnect the Spark Plug (2 minutes)
Pull the spark plug wire off the plug before you touch the blade. This is not optional. A mower blade can kick over from a spark even with the key off, and I’ve seen the finger injuries that result. Set the wire aside so it can’t spring back into contact with the plug while you’re working.
Step 2: Drain or Secure the Fuel and Oil (5 minutes)
Tip the mower so the air filter and carburetor face up, not down. If you tip it the wrong way, oil floods the air filter and fuel can leak past the carburetor gasket. If your mower has been run recently, let the engine cool first. Running the tank close to empty before this job saves you a mess.
Step 3: Remove the Blade (5 minutes)
Wedge a block of wood between the blade and the deck to keep it from spinning, then loosen the center bolt with your socket wrench. On most US mowers, the bolt loosens counterclockwise, standard thread, but a handful of older Craftsman and some Toro models use reverse-thread bolts. Note the orientation of the blade before you pull it off – most blades have a stamped side that faces up, and reinstalling it backward is a common mistake that kills cutting performance.
Step 4: Clean the Blade and Deck (5 minutes)
Scrape off caked grass and dried sap with a putty knife before sharpening. A dirty blade hides nicks and makes it hard to see the existing bevel angle. While the blade is off, this is also the easiest time to clean built-up clippings off the underside of the deck, which improves airflow and cut quality on its own.
Step 5: Sharpen the Cutting Edge (10 minutes)
Clamp the blade in a vise if you have one, or hold it firmly against a workbench edge. Match the file or grinder to the existing bevel angle, which is almost always between 22 and 30 degrees depending on the brand. File in one direction only, away from the cutting edge, using long even strokes. Count your strokes and match them on both sides of the blade – five strokes on one side, five on the other – so you don’t remove more metal from one wing than the other. That single habit prevents most of the balance problems people run into later.
Stop as soon as the edge is sharp and consistent. You’re aiming for a clean edge, not a razor. A mower blade that’s too sharp actually dulls faster because thin edges chip on the first rock or stick.
Step 6: Check the Balance (3 minutes)
Hang the blade on the balancer cone or a nail through the center hole. If one side dips, file a bit more off the heavier side’s cutting edge, not the back of the blade. An unbalanced blade vibrates at high RPM, and that vibration works its way into the crankshaft bearing and the engine mounts over months of use. In the shop, a wobbling blade that got ignored is one of the more common reasons a customer’s engine mount bolts show up stripped or the crankshaft seal starts leaking.
Step 7: Reinstall the Blade (5 minutes)
Set the blade back on with the stamped side facing up, wedge the wood block again, and torque the center bolt. Most residential blade bolts torque to 35-40 ft-lbs, but this varies by manufacturer. If you don’t have a torque wrench, “very firm with a breaker bar” gets most homeowners close enough, but a bolt that’s too loose will work itself free over a season, and one that’s overtightened can strip the threads on the crankshaft, which is a far more expensive repair than the blade itself.
Step 8: Reconnect and Test Run
Reattach the spark plug wire, set the mower upright, and start it on a flat, open area away from people. Listen for unusual vibration or noise before you mow the whole lawn. A properly balanced, correctly torqued blade should sound and feel no different from a brand-new one.
How to Tell Your Blade Actually Needs Sharpening
Grass tips that look brown, ragged, or torn a day or two after mowing are the clearest sign, and it’s more reliable than counting weeks on a calendar. A sharp blade slices grass cleanly, leaving a crisp cut edge that heals over quickly. A dull blade tears the grass fiber instead of cutting it, which is why the lawn takes on a grayish, frayed look within 48 hours.
Run your finger carefully along the blade edge (mower off, spark plug disconnected) and feel for nicks, rounding, or a wavy edge instead of a straight line. Visible dents from rocks or sticks also mean it’s time.
As a rough guide, a homeowner mowing a typical quarter-acre lot weekly during the season needs to sharpen two to three times per year. Sandy or rocky yards, and anyone mowing over roots or uneven ground, wear a blade faster and may need it closer to monthly during peak season.
Common Mistakes That Ruin a Sharpening Job
Homeowners bring blades into the shop after a DIY sharpening attempt more often than you’d expect, and it’s almost always one of these:
- Sharpening at the wrong angle. Going in at 45 degrees instead of the factory 22-30 degree range creates an edge that dulls within one or two mowings instead of lasting the season.
- Filing unevenly. Doing all the work on one side “because it looked duller” throws off the balance and causes vibration that can loosen the crankshaft over time.
- Removing too much metal. Grinding aggressively to erase every nick thins the blade past its safety rating, which increases the risk of it snapping at high RPM. If a blade has a deep gouge or is visibly thin near the edge, it needs replacing, not more grinding.
- Skipping the balance check. This is the single most skipped step and the most common cause of come-backs to my shop.
- Reinstalling the blade upside down. The stamped or curved side faces up on nearly every mower. Installed backward, it still spins and cuts, just poorly, which confuses people into thinking sharpening didn’t work.
- Under- or over-torquing the bolt. Loose bolts back out over time; overtightened bolts strip crankshaft threads, which usually means a shop repair costing more than a season’s worth of new blades.
Safety Notes
Always disconnect the spark plug wire before touching the blade, no exceptions, even if the mower is off and the key is out. Wear cut-resistant gloves while handling the blade itself; the edges stay sharp enough to cut skin even before you’ve finished sharpening them. Keep the mower tipped with the air filter up to avoid oil and fuel leaks, and never run the engine with the blade removed or improperly secured.
When to DIY vs When to Call a Professional
Sharpening is a reasonable DIY job for anyone comfortable with basic hand tools and a couple of safety precautions. Where I’d tell a customer to bring it into a shop instead:
- The blade is bent, cracked, or has a deep gouge that goes past the cutting edge into the blade body.
- The center bolt is seized or the bolt threads look stripped.
- You don’t have a way to check balance and the mower already vibrates noticeably.
- The blade has been sharpened multiple times already and is visibly narrower than a replacement blade held next to it – at that point, replacement is cheaper and safer than another sharpening pass.
A shop sharpening typically runs $10-15 per blade in most US markets, and a new standard 21-inch residential blade costs $12-25 depending on the brand. [VERIFY: current local pricing, as this varies by region and shop]
Troubleshooting: If the Cut Still Looks Bad After Sharpening
Grass still looks torn after sharpening. Check the balance again – an unbalanced blade cuts unevenly even when sharp. Also confirm the blade is installed with the correct side facing down toward the grass.
Mower vibrates more than before. This almost always means the blade wasn’t balanced correctly, or the bolt wasn’t torqued evenly. Remove and recheck both.
Cut height looks uneven across the lawn. This is often not a blade issue at all – check that the deck itself is level and that both rear wheels are set to the same height.
Engine bogs down or stalls while cutting. A newly sharpened blade shouldn’t change engine load. If it does, check that you haven’t over-thinned the blade, which can throw off its aerodynamic lift and airflow through the deck.
Total Cost of Ownership: DIY vs Shop Sharpening
| Approach | Cost Per Sharpening | Time Required | Best For |
|---|---|---|---|
| DIY with hand file | $0 (after initial $15-20 tool cost) | 20-30 minutes | Homeowners doing this 2-3x per season |
| DIY with bench grinder | $0 (after $40-80 grinder cost) | 10-15 minutes | Anyone sharpening multiple blades or tools regularly |
| Shop sharpening | $10-15 per blade | Drop-off, usually same-day | Bent, nicked, or hard-to-balance blades |
| Replacement blade | $12-25 per blade | 5 minutes to swap | Blades sharpened 4+ times or visibly thin |
Over a typical five-year mower lifespan, a homeowner sharpening at home two to three times a season spends close to nothing beyond the one-time tool cost, compared to $100-150 in shop fees over the same period.
Frequently Asked Questions About Sharpening Mower Blades
How often should I sharpen my lawn mower blade?
Most homeowners need to sharpen two to three times per mowing season for a typical quarter-acre yard mowed weekly. Sandy, rocky, or root-heavy yards wear blades faster and may need sharpening closer to monthly during peak growing season.
Can I sharpen a mower blade without removing it?
You can, using a handheld angle grinder while the blade stays bolted on, but it’s harder to check balance and get an even edge on both sides this way. Removing the blade takes an extra five minutes and gives a far more consistent result.
What angle should I sharpen a lawn mower blade at?
Most residential mower blades use a factory bevel between 22 and 30 degrees, though this varies by brand and model. Check your owner’s manual for the exact spec, and try to match the existing bevel angle on the blade rather than guessing.
Do I need to balance the blade after sharpening?
Yes. An unbalanced blade vibrates at high RPM, and that vibration transfers into the crankshaft bearing and engine mounts over time. Checking balance on a cone balancer or a nail takes under two minutes and prevents a much more expensive repair down the line.
How do I know if my blade needs replacing instead of sharpening?
If the blade has a deep gouge, visible bend, or has already been sharpened down to noticeably thinner than a new blade, replace it. A blade that’s been ground too thin is a safety risk at mowing speed, not just a performance issue.
What torque should I use when reinstalling the blade bolt?
Most residential mower blade bolts torque to 35-40 ft-lbs, but this varies by manufacturer and engine size. Check your specific owner’s manual for the exact figure, since under- or over-torquing can lead to a loose blade or stripped crankshaft threads.
Can a dull blade damage my mower engine?
Indirectly, yes. A dull or unbalanced blade forces the engine to work harder to tear through grass instead of cutting cleanly, and the resulting vibration puts extra strain on the crankshaft bearing and mounts over time.
Is it safe to sharpen a mower blade with an angle grinder?
Yes, with cut-resistant gloves and eye protection, and as long as you don’t remove metal faster than you can control the angle. A grinder cuts faster than a file, so go in short passes and check the bevel frequently rather than grinding continuously.
Summary
Sharpening a lawn mower blade at home takes about 20-30 minutes with basic hand tools: disconnect the spark plug, remove the blade, file it to the factory bevel angle, check the balance, and reinstall with the correct bolt torque. Doing this two to three times a season keeps the cut clean and reduces wear on the engine’s crankshaft bearing. Skip the DIY route and see a shop if the blade is bent, cracked, or already sharpened down thin.
Pingback: 9 Signs Your Lawn Mower Needs a Full Tune-Up
Pingback: How to Create Mowing Patterns: Stripes, Checkerboard, and Diamond
Pingback: How to Prevent Grass Clippings From Clumping
Pingback: Best Lawn Mowers for Cemetery Grounds Maintenance